A well-functioning drainage system is essential for every building in Dubai, whether it is a villa, apartment tower, restaurant, warehouse, hotel, or commercial kitchen. When drainage problems begin, they rarely appear suddenly. Instead, they start with early warning symptoms that many people overlook. Spotting these signs early can save you from costly repairs, health risks, and operational downtime.
As a professional drainage cleaning company in Dubai, we frequently handle emergency situations where minor issues were ignored until they escalated into severe blockages or sewage failures. This blog will help you understand the most common warning signs that indicate your building’s drainage or sewage system needs immediate attention.
Why Early Detection Is Crucial
Dubai’s climate, heavy usage in commercial buildings, grease accumulation, food waste, and improper disposal habits can severely affect drainage systems. Without timely action from a qualified drainage cleaning company in Dubai, minor issues can quickly turn into:
- sewage backups
- standing wastewater
- foul odours
- pipe damage
- blocked grease traps
- septic tank overflow
Recognising early warning signs and contacting a professional team can prevent costly emergencies.
Slow Drains Across Multiple Areas of the Building
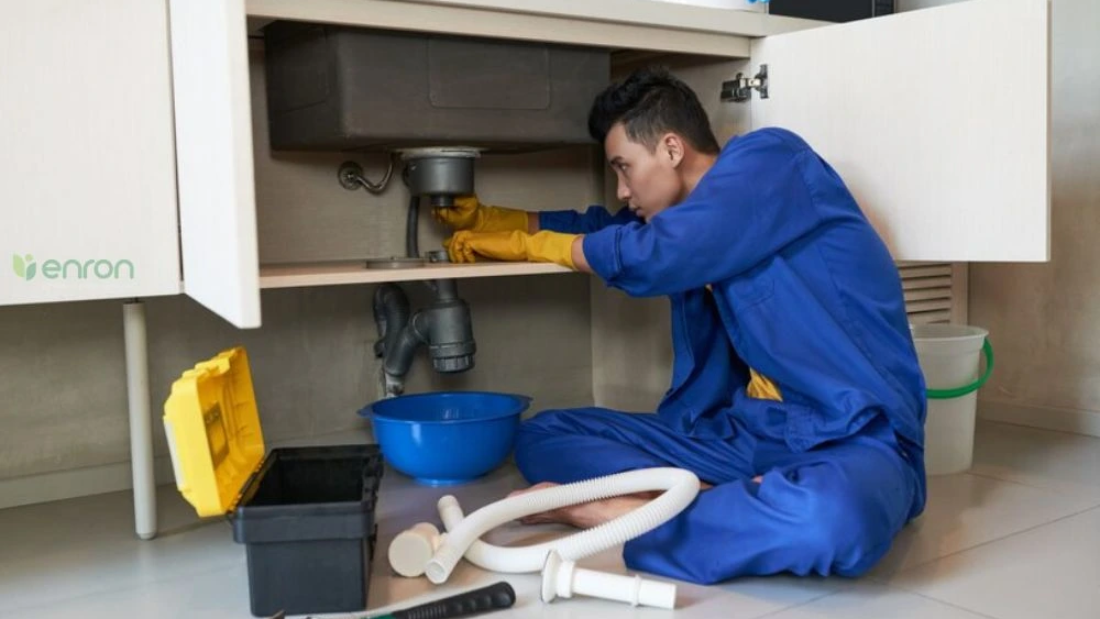
One of the earliest and most noticeable warning signs is slow drainage. When water drains slowly in sinks, bathtubs, floor drains, or toilets, it indicates a blockage somewhere in the pipeline.
Common Causes of Slow Drains
- grease buildup in kitchen pipelines
- soap residue and hair in bathrooms
- dirt, sand, or foreign objects in drains
- partial blockage in the main sewer line
A professional drainage cleaning company in Dubai can quickly inspect and clear buildup before it leads to a major blockage or backup.
Persistent Foul Odours Coming From Drains
If you can smell unpleasant sewage-like odours coming from washrooms, kitchens, basements, or outdoor drains, this is a major red flag. Bad smells mean that waste is trapped or something is wrong deeper in the sewage system.
Why Odours Appear
- sewage gases escaping through cracks
- grease trap failure
- sewage tank overflowing
- stagnant wastewater inside pipes
- organic matter decomposing in drainage lines
Buildings that skip regular sewage tank cleaning in Dubai often encounter this issue. Calling a reliable drainage cleaning company in Dubai helps stop the smell at its source.
Gurgling, Bubbling, or Strange Noises in Drains
If your drains make gurgling, bubbling, or suction sounds, it means trapped air is struggling to pass through a partially blocked pipe. This is a key warning sign of a developing blockage.
Possible Causes
- blocked vent pipes
- grease or waste buildup
- sewer line obstruction
- pipe damage underground
A trained team from a drainage cleaning company in Dubai can accurately diagnose where the blockage is located and fix it before the issue worsens.
Water Backups in Toilets, Sinks, or Floor Drains
One of the most serious signs is water coming back up instead of flowing down. Water backup can occur in:
- kitchen sinks
- toilet bowls
- bathroom drains
- basement drains
- outdoor drainage systems
Why Backups Happen
- severe blockage in the main drainage line
- septic tank full
- grease trap blockage
- pipe collapse
- root intrusion
Ignoring this problem can result in contamination and indoor flooding. Immediate help from a professional drainage cleaning company in Dubai is necessary.
Leakage, Wet Spots, or Dampness Around Drains
Unexplained wet patches around drains, walls, ceilings, or outdoor areas often indicate a leakage problem. This can be caused by cracks, corrosion, or pressure buildup.
Common Sources of Leaks
- cracked sewage pipes
- blocked drainage causing overflow
- faulty joints or fittings
- broken underground lines
- sewage tank leakage
Leaks lead to mould growth, foul odours, pests, and structural damage. A certified drainage cleaning company in Dubai can locate hidden leaks using advanced inspection tools.
Frequent Pest Infestations (Cockroaches, Drain Flies, Rodents)
When your drainage or sewage system is compromised, pests like cockroaches, drain flies, and rats tend to appear. They enter through cracks, broken pipes, or blocked drains.
Why Pests Enter Through Drains
- decomposing waste
- stagnant water
- sewage leakage
- pipeline gaps
A high-quality drainage cleaning company in Dubai can identify the underlying drainage issues causing the infestation and eliminate the root problem.
Sewage Overflow Outside Your Building
Outdoor sewage overflow is a clear sign of a major system failure. This usually occurs in parking lots, gardens, basements, or common areas.
Primary Causes
- septic tank full
- collapsed or damaged sewer lines
- heavy grease accumulation
- improper waste disposal
- overloading of drainage system
Overflow requires immediate attention from a professional drainage and sewage cleaning team to prevent contamination and safety hazards.
Rising Water Levels in Toilets or Floor Drains
If water levels rise unusually during heavy usage, it means the drainage system is struggling to handle the load.
Common in:
- restaurants
- villas
- hotels
- labor camps
- commercial kitchens
- residential buildings
A drainage cleaning company in Dubai can inspect the main sewer line and detect whether it is blocked, undersized, or damaged.
Consequences of Ignoring These Warning Signs
If early signs are not addressed promptly, they can lead to:
Health Risks
- bacterial contamination
- foul odours
- allergies and infections
Structural Damage
- wall and ceiling cracks
- mould growth
- weakened foundation
Business Disruption
- restaurant closure
- hygiene violations
- financial losses
Routine inspections by an experienced drainage cleaning company will help to prevent these avoidable consequences.
How a Drainage Cleaning Company in Dubai Fixes These Issues
A professional team uses advanced tools, trained technicians, and industry-approved methods to resolve drainage and sewage problems efficiently. As a leading service provider, Enron UAE offers comprehensive solutions tailored for residential, commercial, and industrial buildings across Dubai.
Services Used to Fix Drainage & Sewage Problems
- High-Pressure Water Jetting: Clears grease, sludge, debris, and hard blockages from pipelines.
- Vacuum Tanker Services: Removes wastewater, sludge, and overflow from sewage tanks, septic tanks, and grease traps.
- CCTV Drain Inspection: Detects hidden blockages, cracks, collapses, and pipe misalignments without digging.
- Mechanical Descaling: Removes hardened deposits and scale buildup from old drainage pipes.
- Grease Trap Cleaning: Essential for restaurants, cafeterias, hotels, and commercial kitchens to prevent blockages and foul odours.
- Septic Tank & Sewage Tank Cleaning: Prevents overflow, backups, and contamination by ensuring tanks are pumped and cleaned regularly.
- Pipeline Flushing & Maintenance: Ensures long-term drainage flow and system efficiency.
By choosing Enron UAE as your trusted drainage cleaning company in Dubai, you get fast response times, expert technicians, advanced equipment, and reliable maintenance solutions that prevent emergencies and extend the lifespan of your drainage system