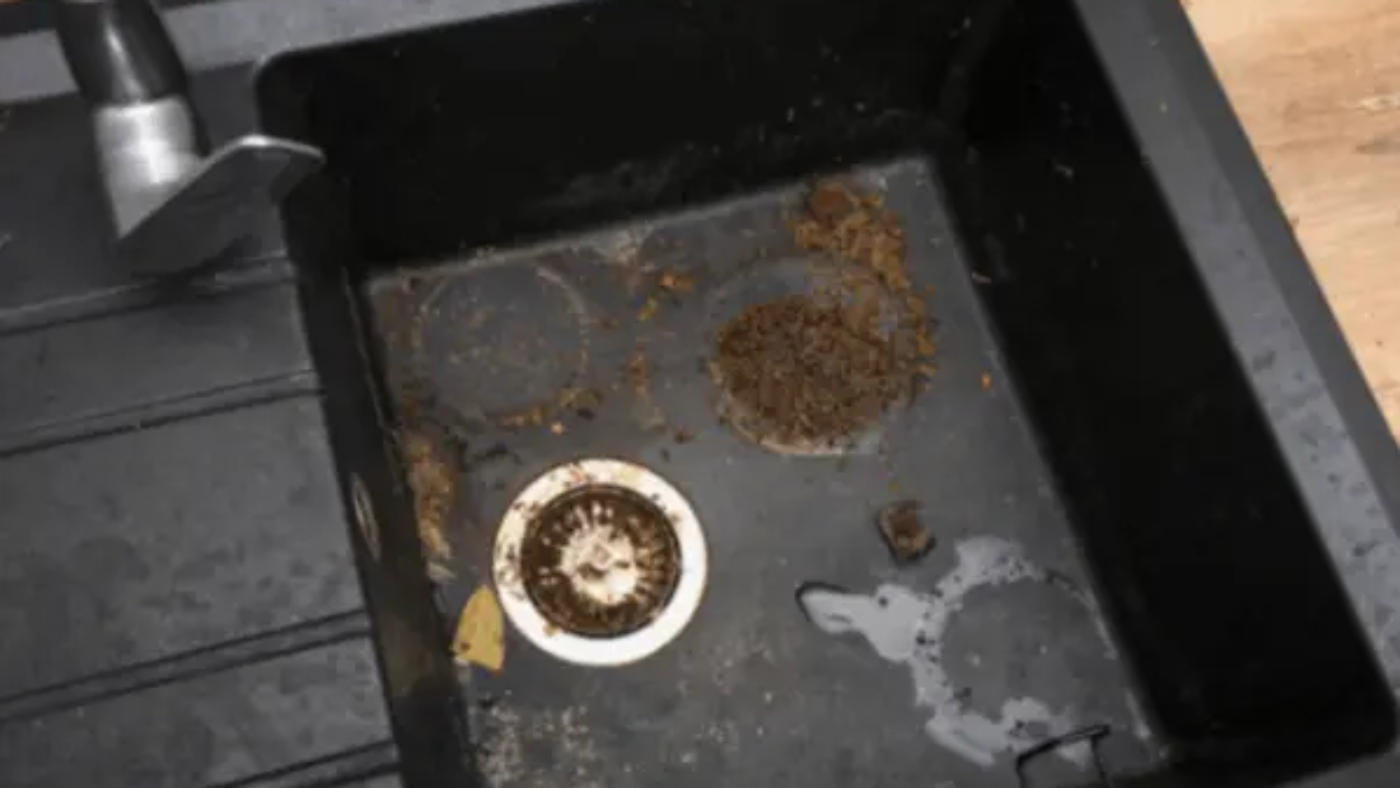
Installing a grease trap in your kitchen is essential for maintaining a clean and efficient plumbing system. Whether you’re managing a bustling restaurant or ensuring your home kitchen runs smoothly, a grease trap helps prevent clogs and maintain hygiene. At Enron, leading cleaning company in Dubai, we understand the importance of proper grease trap installation. Follow this step-by-step guide to install a grease trap and discover why installing a grease trap is a smart investment.
Why Install a Grease Trap?
Before diving into the installation process, it’s crucial to understand the benefits of installing a grease trap:
1. Prevents Costly Plumbing Issues
Avoid Blockages: Grease traps are designed to capture fats, oils, and grease (FOG) before they enter your plumbing system. By preventing these substances from clogging pipes, you can avoid frequent and costly plumbing repairs.
Reduce Maintenance Costs: Regular maintenance of your grease trap is much cheaper than dealing with severe plumbing issues caused by grease buildup. Investing in a grease trap can lead to long-term savings on plumbing services.
2. Enhances Kitchen Hygiene
Improves Sanitation: A grease trap helps keep your kitchen environment clean by intercepting grease and food particles. This reduces the risk of unpleasant odors and potential health hazards.
Minimizes Cross-Contamination: By effectively managing grease, a grease trap helps maintain a sanitary kitchen environment, which is crucial for food safety and preventing cross-contamination.
3. Complies with Local Regulations
Meet Health and Safety Standards: Many local regulations and health codes require grease traps, especially in commercial kitchens. Installing a grease trap ensures you stay compliant with these regulations and avoid potential fines.
Supports Environmental Responsibility: Proper disposal of grease prevents it from reaching the sewer system and local water bodies, aligning with environmental protection standards.
4. Reduces Environmental Impact
Prevent Sewer Overflows: Grease buildup in sewers can cause blockages and overflows, leading to environmental pollution. By capturing grease, grease traps help prevent these issues and protect local ecosystems.
Sustainable Practice: Using a grease trap supports sustainable practices by reducing the amount of waste that enters the sewage system, contributing to overall environmental conservation.
5. Improves System Efficiency
Ensures Smooth Operation: By managing grease effectively, a grease trap ensures that your plumbing system operates efficiently, reducing the risk of slow drains and backups.
Extends Lifespan of Plumbing: Regular use of a grease trap helps extend the lifespan of your plumbing system by preventing the harmful effects of grease buildup.
6. Easy Maintenance and Cleaning
Convenient Upkeep: Grease traps are designed to be easy to clean and maintain. Regular cleaning schedules ensure that the trap remains effective and your kitchen remains in top condition.
Minimal Disruption: With proper installation, cleaning a grease trap is a straightforward process that causes minimal disruption to your kitchen operations.
Steps to Install a Grease Trap
1. Choose the Right Location
Select an Accessible Spot: Choose a location that’s easy to reach for maintenance and cleaning. Common spots include under sinks or in the basement.
Measure Carefully: Ensure the grease trap fits the chosen location by measuring the space and checking the trap’s dimensions.
2. Turn Off the Water Supply
Safety First: Before you start, turn off the water supply to avoid any accidents or water damage during installation.
3. Prepare the Plumbing
Remove Existing Pipes: If replacing an old grease trap, carefully disconnect the existing drain pipes using a pipe wrench.
Plan the Installation: Review the grease trap’s installation instructions for any specific requirements.
4. Install the Inlet and Outlet Pipes
Connect the Inlet Pipe: Attach the inlet pipe from the sink drain to the grease trap’s inlet. Use Teflon tape on the threads to ensure a leak-proof connection.
Connect the Outlet Pipe: Connect the outlet pipe from the grease trap to the existing drain line or a new drain line. Secure all connections tightly.
5. Seal the Grease Trap
Apply Gasket or Sealant: If the grease trap comes with a gasket or sealant, ensure it’s properly installed to prevent leaks. For extra security, apply silicone sealant around the edges.
6. Reconnect the Sink
Reattach Pipes: If you removed sink drain pipes, reconnect them to the grease trap’s inlet and outlet. Tighten all connections to prevent leaks.
7. Check for Leaks
Turn On the Water Supply: Slowly turn the water supply back on and run water through the sink. Check for any leaks around the grease trap and tighten connections if necessary.
8. Test the System
Ensure Proper Functioning: Run water through the system to confirm that the grease trap is effectively capturing grease and waste.
9. Regular Maintenance
Schedule Cleanings: Regularly clean and maintain your grease trap to ensure it operates efficiently. Empty the trap and inspect it for any issues. Hire grease trap cleaning companies in Dubai for a effortless and seamless cleaning.
Installing a grease trap in your kitchen is a straightforward process that offers numerous benefits, from preventing costly plumbing issues and enhancing kitchen hygiene to complying with local regulations and reducing environmental impact. Whether you’re running a commercial kitchen or managing a residential space, a grease trap is a smart investment for maintaining a clean and efficient kitchen.
For professional grease trap installation services in Dubai, contact Enron. Our team of experts ensures your grease trap is installed correctly and maintained regularly.
Contact Us Today!


Leave A Comment